Evil Genius Labs
Purveyor of finely hand-crafted pixels. ꩜

Purveyor of finely hand-crafted pixels. ꩜
Each gate requires:
I used acetone to remove the markings from the pipe before assembly.
I built one gate with 3/4” PEX elbows and tees from the hardware store. They only had them in black, and I didn’t care for how they looked, so I decided to design and 3D print them in white PLA. They also didn’t have any flanges for feet.
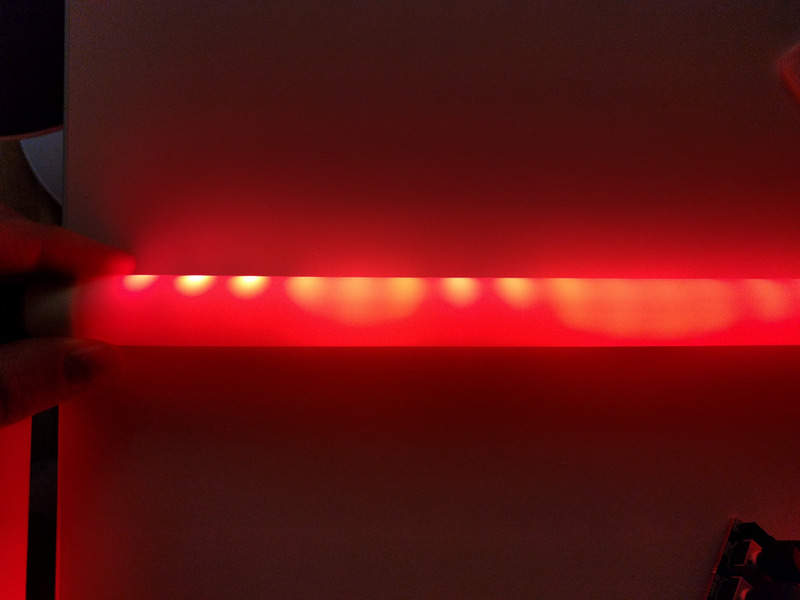
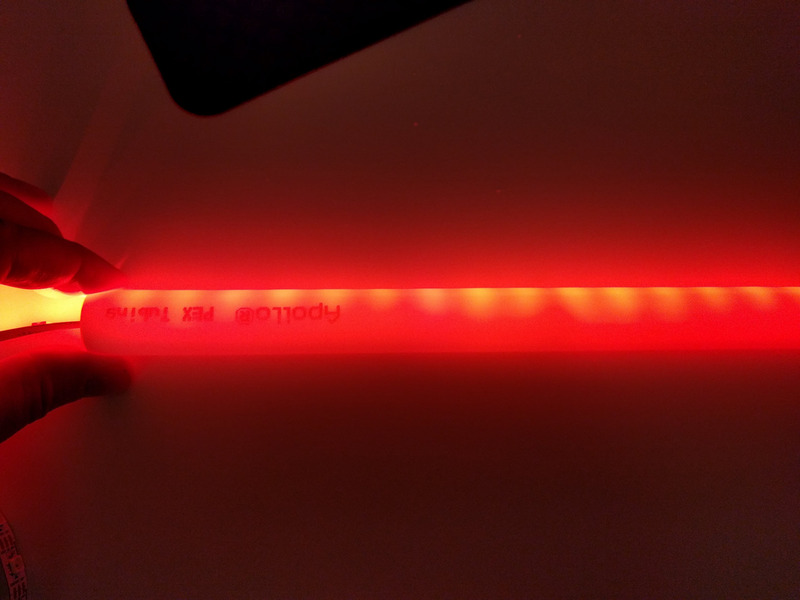
The white PEX pipe is great at diffusing the light from the LEDs, but I realized it was still very irregular and the strip could move around inside the pipe.

So I cut thin strips of white floral craft styrofoam, one on the front and one on the back of each LED strip. Then I slid the LEDs into the pipes. They no longer moved, and they were much better centered inside the pipe. The light was much more regular.


You might try using one thicker strip of foam on the front of the LEDs for even better diffusion, but then I don’t think as much light would bounce around to the back. I chose to point the LEDs towards the inside of the gate.
Ensure the input wires and JST-SM connector stick out one end, through a flange, coupler (short section of pipe), and tee.
All the pipe sections and fittings are just press fit together. I did not use pipe glue. If they’re loose, you could use a bit of hot glue.
The MultiGP Tiny Whoop Class 19”x19” gate required 2 meters of LEDs, which fit nearly perfectly.
The MultiGP Tiny Whoop Class 19” round gate required a little less than 2 meters of LEDs. I had to trim 18 LEDs off the end.
The large gate has some space between the LED strips and the end fittings, but I don’t feel it made much of a difference visually.
I measured and cut the medium gate size so each LED strip would end right where the fittings started inside the pipe sections.
I built one small gate that did not require cutting or splicing the LED strip. I just measured and cut the pipe, then slid the LEDs and styrofoam through the pipe and fittings.
The two larger gates I built required cutting the 60 LED strip into four pieces:
I carefully counted, measured, re-counted, and re-measured before marking and cutting the LED strips. I then carefully measured, cut, arranged and soldered 22 AWG wires between the output of one 12 LED strip to the input of one 16 LED strip. Repeat for the next strip of 12, then the final strip of 16 LEDs.